 |
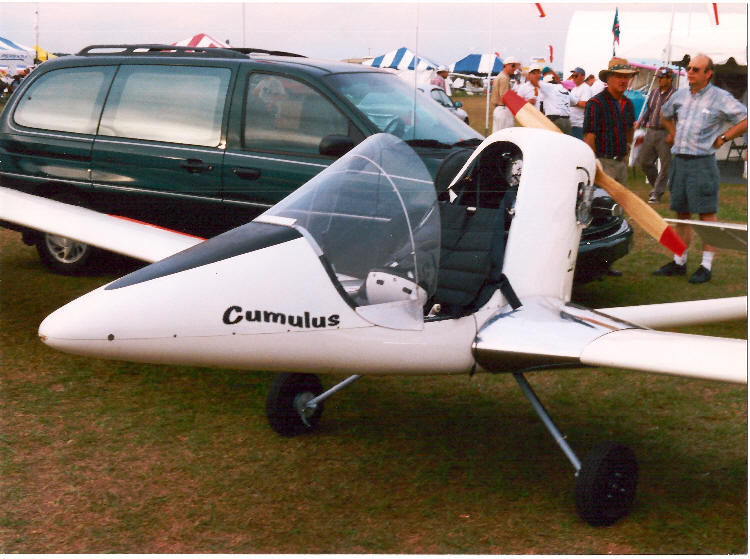
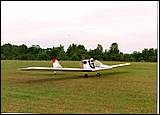
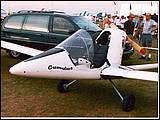
Cumulus is a motor glider intended for engine off soaring to fill a gap in that category as nothing like that is currently available on the kit plane market. I designed and built the fiberglass cabin for it. About eight kits were initially delivered but the production has been on hold for the past 4 years after Jim Collie fatal accident and destruction of the prototype . He was the kit designer / producer . A new is party has recently taken the project and after some redesign work of the wing assembly process is currently building a new factory demo. Hopefully everything goes well and the Cumulus will be resurrected again.
|
 |
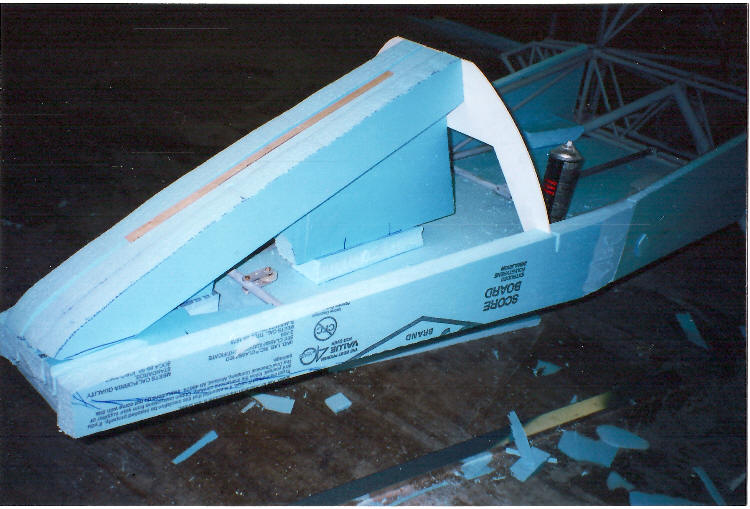
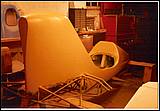
The early stage of gluing up the foam around the steel tubing frame. 3m contact spray adhesive and hot glue gun is used
|
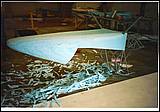 |
Most rough shaping is done by carving the foam with a large sharp steak knife. I took a trip to Tennessee so we could do this with Jim together.
|
 |
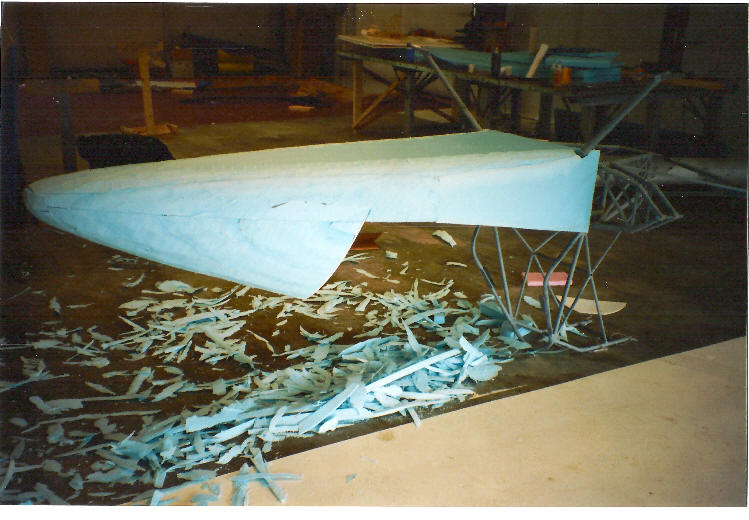
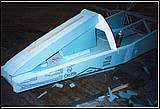
The plane is taking its shape nicely. This is as good as it needs to get for the design part, now we remove the boom tube and I can take it back home to finish the rest. Behind on the trailer, that’s the original Cumulus prototype that was built in TEAM factory as a proof of concept.
|
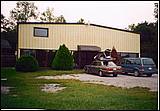 |
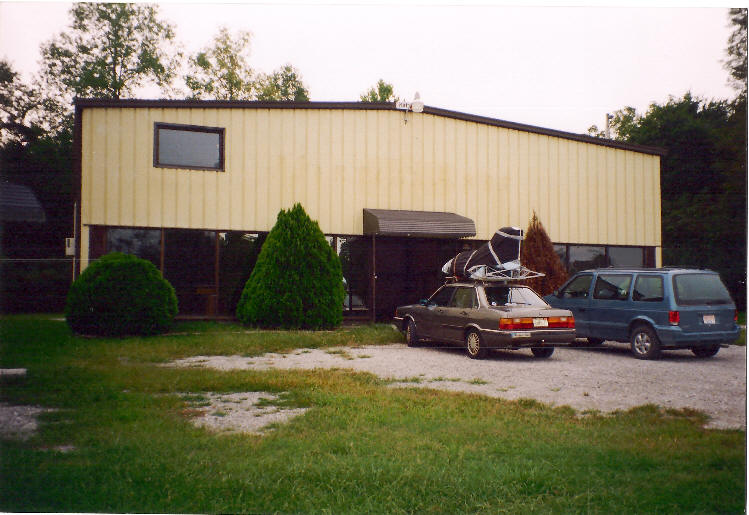
That’s Jim’s shop from the outside , I have the project loaded on the top of my car and I’m about to leave
|
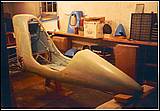 |
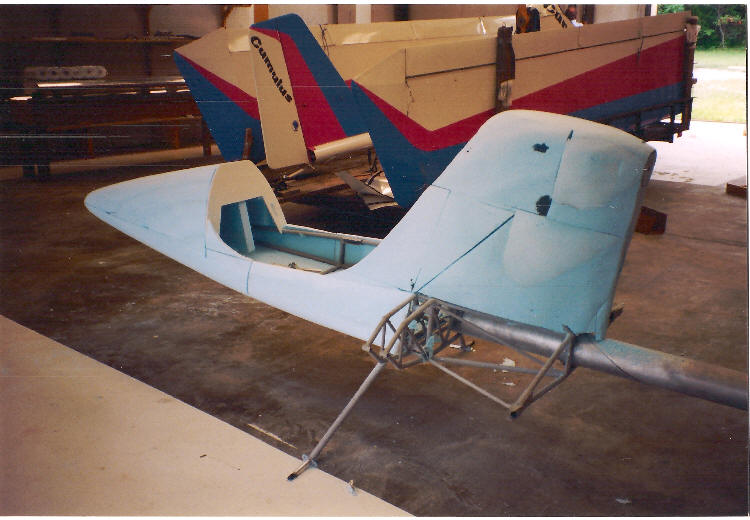
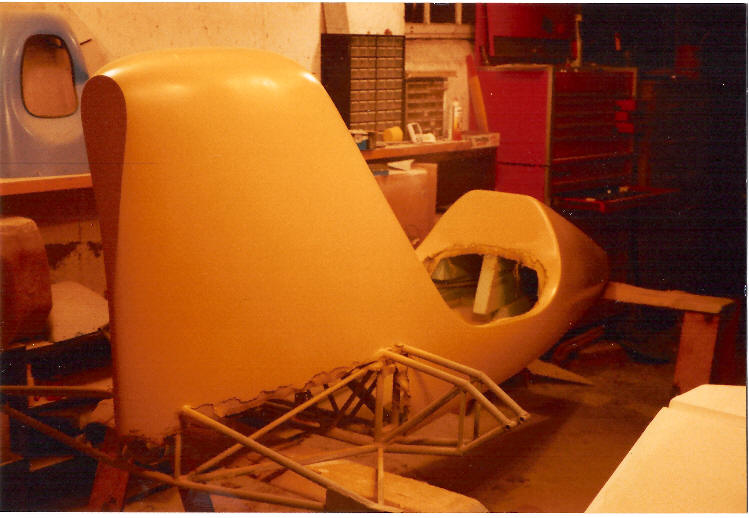
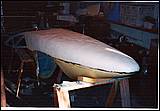
Now in my workshop, the foam has been shaped and covered with two plies of fiberglass to form a hard shell. A lot of filling and sanding, followed by priming and wet sanding remains to be done, to bring the shape and the surface into perfection.
|
 |
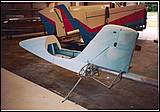
And here it is, the finished plug , as it’s called in the mold making industry. Four separate molds will be made from this plug, the bottom pan , front top and two rear left and right sides.
|
 |
The bottom pan mold under construction , The white stuff is light weight filler applied about ¼ inch thick between the layers of fiberglass to increase the thickness / stiffness of the mold without adding a lot of weight and money,
|
 |
Here we are at Sun"N"Fun , That’s Jim in the right upper corner
|